 iPhone 14 Pro
iPhone 14 Plus
iPhone 14
iPhone 13 Pro Max
iPhone 13 Pro
iPhone 13
iPhone 13 Mini
iPhone SE 2022
iPhone 12 Pro Max
iPhone 12 Pro
iPhone 12
iPhone 12 Mini
iPhone 11 Pro Max
iPhone 11 Pro
iPhone 11
iPhone XS Max
iPhone XS
iPhone XR
iPhone X
iPhone SE 2020
iPhone 8 Plus
iPhone 8
iPhone 7 Plus
iPhone 7
iPhone 6s Plus
iPhone 6s
iPhone 6 Plus
iPhone 6
iPhone SE
iPhone 5s
iPhone 5c
iPhone 5
iPhone 14 Pro
iPhone 14 Plus
iPhone 14
iPhone 13 Pro Max
iPhone 13 Pro
iPhone 13
iPhone 13 Mini
iPhone SE 2022
iPhone 12 Pro Max
iPhone 12 Pro
iPhone 12
iPhone 12 Mini
iPhone 11 Pro Max
iPhone 11 Pro
iPhone 11
iPhone XS Max
iPhone XS
iPhone XR
iPhone X
iPhone SE 2020
iPhone 8 Plus
iPhone 8
iPhone 7 Plus
iPhone 7
iPhone 6s Plus
iPhone 6s
iPhone 6 Plus
iPhone 6
iPhone SE
iPhone 5s
iPhone 5c
iPhone 5

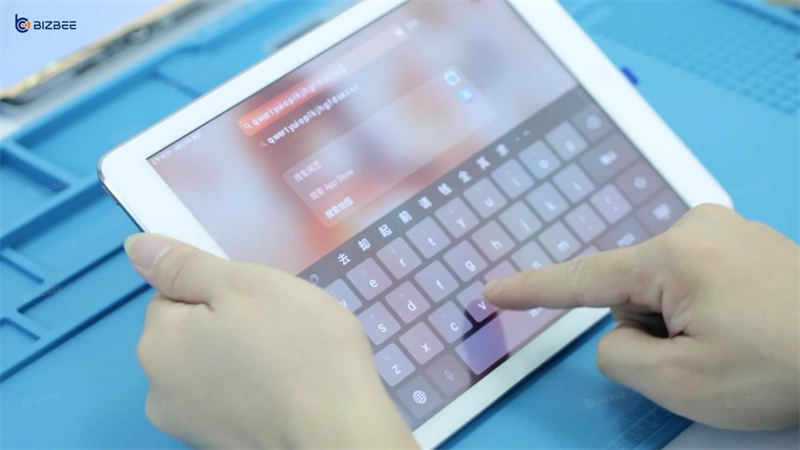
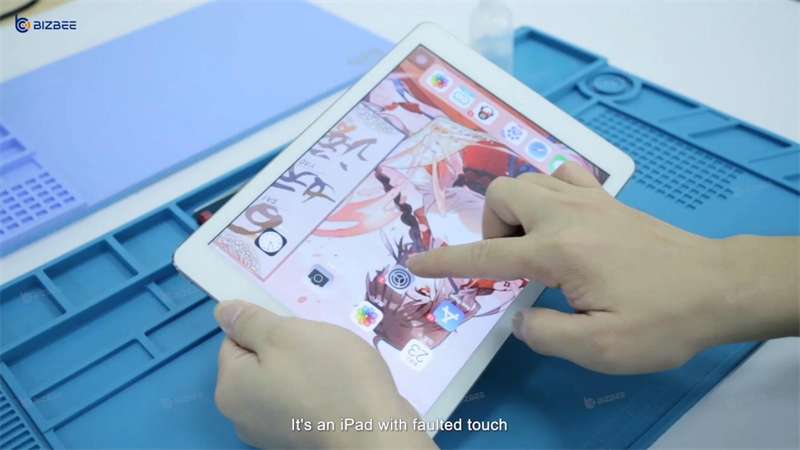
There is an iPad 6 with faulted touch. Since the external touch digitizer screen and the internal display screen of this iPad are separated, we only need to replace the external digitizer screen.
Watch the video:
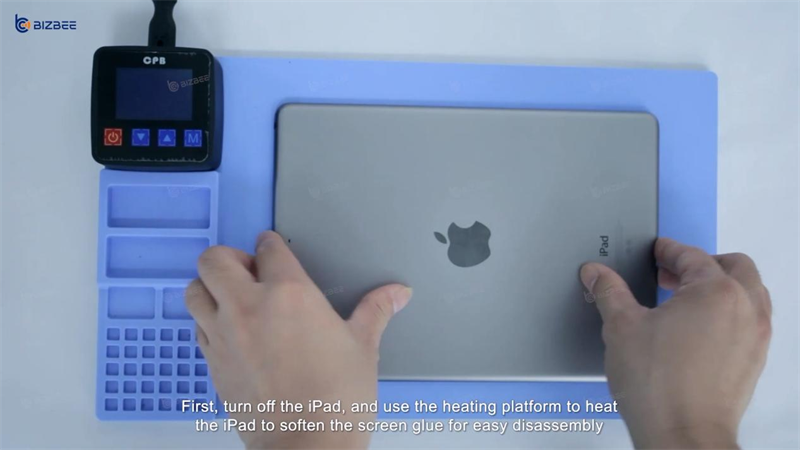
Step 1: Heat up the iPad
First, turn off the iPad, and use the heating platform to heat the iPad to soften the screen glue for easy disassembly. When heating, the temperature should not be too high, or the backlight of the inner screen will be baked into wrinkles.
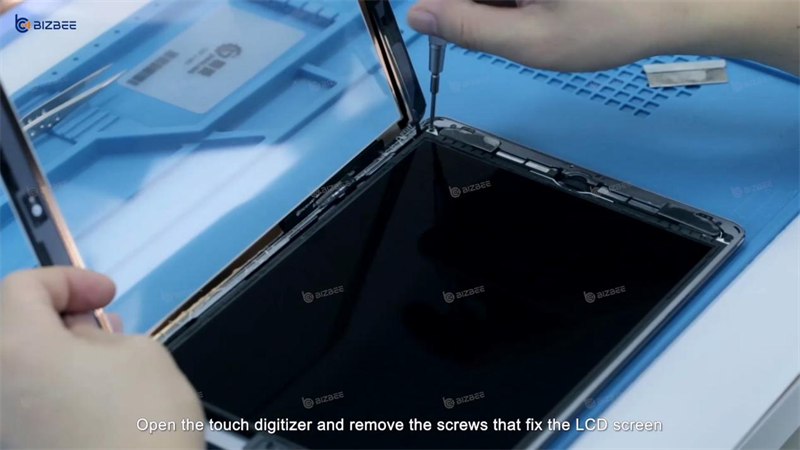
Step 2: Remove the touch digitizer
After heating, we can remove the touch digitizer with a blade. We can add some alcohol to remove the stickiness of the glue, which will make the disassembly process easier. Next, open the touch digitizer and remove the screws that fix the LCD screen. Remove the LCD and touch flex cable, and take out the LCD and touch screen. Don’t forget to use tweezers to remove the glue left on the frame to facilitate the installation of a new touch digitizer.
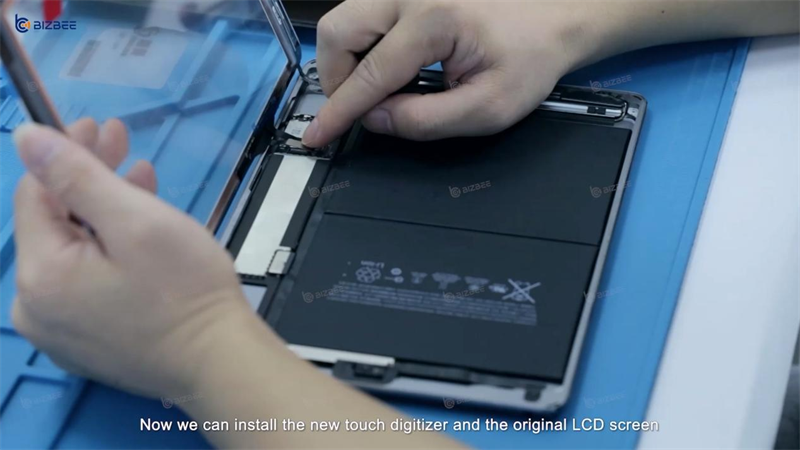
Step 3: Install the new touch digitizer
Now we can install the new touch digitizer and the original LCD screen. First install the fixed flex cable baffle and screws. Then install the LCD fixing screws. Next clean the dust on the LCD screen and tear off the protective film of the new touch digitizer to continue installing.
Step 4: Test the iPad screen functions
After the installation is complete, test the iPad screen functions, and the functions are all normal. Thus the iPad touch digitizer replacement is completed.